CapCut is a popular free online video editor that allows users to create stunning videos with various editing features. One important aspect of video editing is adding custom watermarks and logos, which can help brand your content and protect it from unauthorized use. In this blog, we will provide a step-by-step guide on how to add custom watermarks and logos in CapCut, enabling you to personalize and enhance your videos.

Step-by-Step Guide on Adding Custom Marks and Logos in CapCut

Here’s an in-depth step-by-step guide on how to add custom watermarks and logos in CapCut:
Step 1: Sign Up for CapCut
Open your browser, and search for “CapCut,” a free online video editor. Proceed and fill in your credentials, and then tap the sign-up button.
Step 2: Import Your Video
Tap on the “+” button to create a new project. Then select the video you want to modify from your gallery. There is also an option of using CapCut’s camera feature to create a new video.
Step 3: Access the Editing Interface
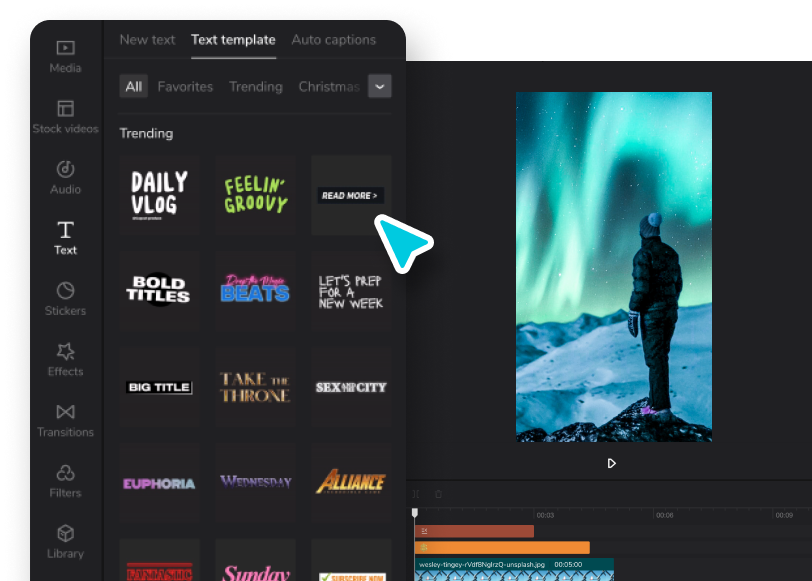
After importing the video, you’ll be taken to the CapCut editing interface. Here, you’ll find various editing tools and options. Tap on the timeline at the bottom to access the editing timeline.
Step 4: Add Custom Watermark or Logo
To add a custom watermark or logo, locate the “Stickers” icon at the bottom of the screen. It usually appears as a smiley face or a square icon with a folded corner. Tap on it to access the sticker library.
Step 5: Import Your Watermark or Logo
In the sticker library, you’ll find a range of preloaded stickers, but to add your custom watermark or logo, tap on the “Add” or “Import” button, typically represented by a plus sign. This will allow you to import an image from your device’s gallery or cloud storage.
Step 6: Adjust Size, Position, and Opacity
Once you’ve imported your watermark or logo, it will appear on the video editing timeline. Tap on the watermark or logo to access customization options. You can resize it by pinching in or out, reposition it by dragging it to the desired location, and adjust its opacity to make it more or less transparent.
Step 7: Customize Animation (Optional)
CapCut provides animation options for stickers, including watermarks and logos. To customize the animation, tap on the “Animate” button, usually represented by a clock icon. Here, you can choose from various animation styles such as fade in, fade out, slide in, or spin. Adjust the duration and timing to achieve the desired effect.
Step 8: Preview and Fine-Tune
After customizing the watermark or logo, tap on the play button to preview your video. If you’re satisfied with the placement, size, opacity, and animation, proceed to the next step. If not, return to the editing timeline, make adjustments, and preview until you’re happy with the result.
Step 9: Export and Save
Once you’re satisfied with your video, tap on the checkmark or “Done” button to exit the editing interface. You can choose the desired export settings on the following screen, such as video quality and resolution. Select your preferences and tap on the “Export” or “Save” button to save the edited video to your device’s gallery.
Mistakes to avoid when Adding Custom Watermarks and Logos in CapCut

When adding custom watermarks and logos in CapCut, there are a few mistakes to avoid to ensure a professional and polished result. Below are some of the common mistakes you should be aware of:
- Poor image quality: Using low-resolution or pixelated watermarks or logos can greatly diminish the overall quality of your video. Make sure your watermark or logo is in high resolution and clear.
- Oversized watermarks: Placing an overly large watermark can be distracting and obstructive, taking away from the content of your video. Keep the size of your watermark or logo balanced and appropriately proportioned.
- Incorrect positioning: Carefully consider the placement of your watermark or logo. Avoid positioning it to block important visual elements or crucial parts of the video. Find a location that is unobtrusive but still visible.
- Inconsistent branding: If you’re using a logo or watermark to represent your brand or channel, it’s important to maintain consistency. Ensure your watermark’s colors, fonts, and overall style align with your brand identity.
- Overusing watermarks: While protecting your content is essential, overusing watermarks throughout the entire video can be excessive and detract from the viewing experience. Place your watermark strategically, such as at the beginning or end of the video, and consider its opacity and size.
- Unappealing design: Design your watermark or logo with aesthetics in mind. It should enhance the overall look of your video rather than appear generic or unappealing. Use CapCut’s video background remover to keep it clean, simple, and visually pleasing.
- Disruptive animations or transitions: If you choose to animate your watermark or logo, ensure that the animation is subtle and doesn’t distract from the main content. Avoid flashy transitions that draw attention away from the video itself.
- Ignoring copyright issues: Be mindful of copyright when using watermarks or logos. Ensure you have the necessary rights or permissions to use any trademarks or copyrighted material in your video.
By avoiding these mistakes, you can effectively incorporate custom watermarks and logos in CapCut while maintaining a professional and visually appealing video.
Conclusion
Adding custom watermarks and logos in CapCut can greatly enhance your videos by providing a personalized touch and protecting your content. With the step-by-step guide provided above, you can easily import your own watermarks or logos, adjust their size, position, and opacity, and even add animations to make your videos more engaging. Remember to ensure that your watermarks or logos are appropriately placed, visible but not overly distracting, and comply with any copyright or trademark guidelines.
